New Minicomic in Progress
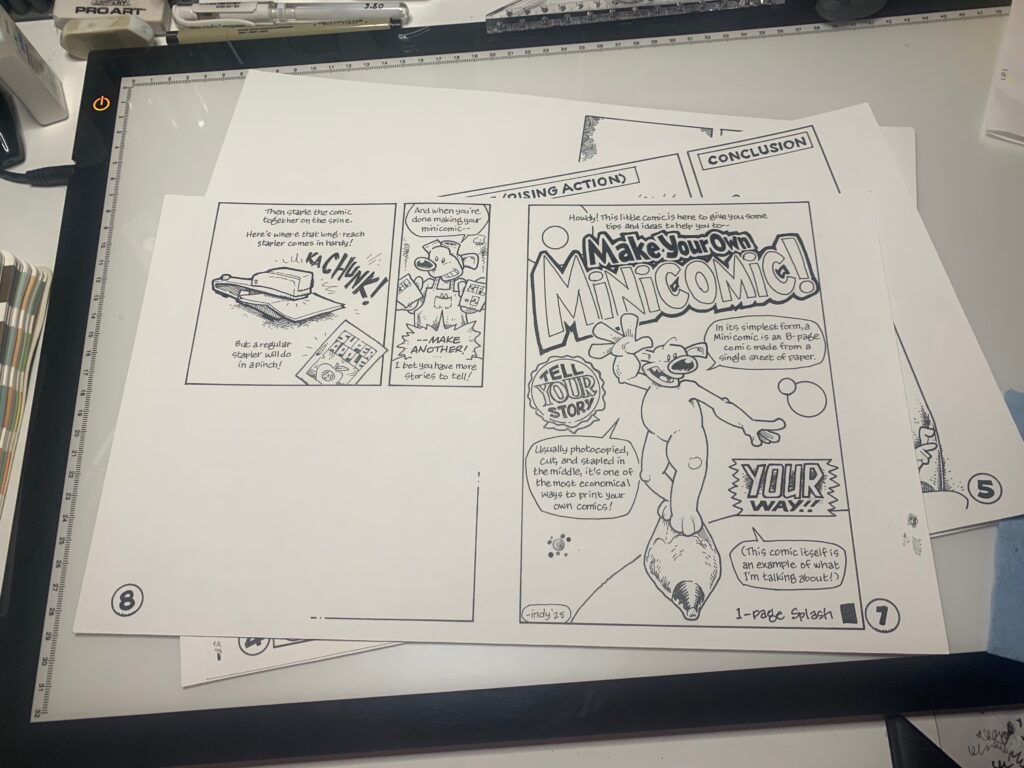
Like I mentioned, buying this printing press has really inspired me to get back into making comics again, especially simple minicomics. I got my start with these small 8-page comics, and have always loved the format. It’s a great, inexpensive way to experiment with comics as a storytelling format, and I want to encourage more people to play with it, from aspiring cartoonists to industry veterans. And so, the next comic I’m making is a collection of tips and instructions on how to write, print, and assemble your own minicomics!

The comic features my original minicomic character Lumpy, star of many of my comics from the early 90s. I should do a whole post just on his evolution over the last 30 years… But yeah! Enjoy this preview!
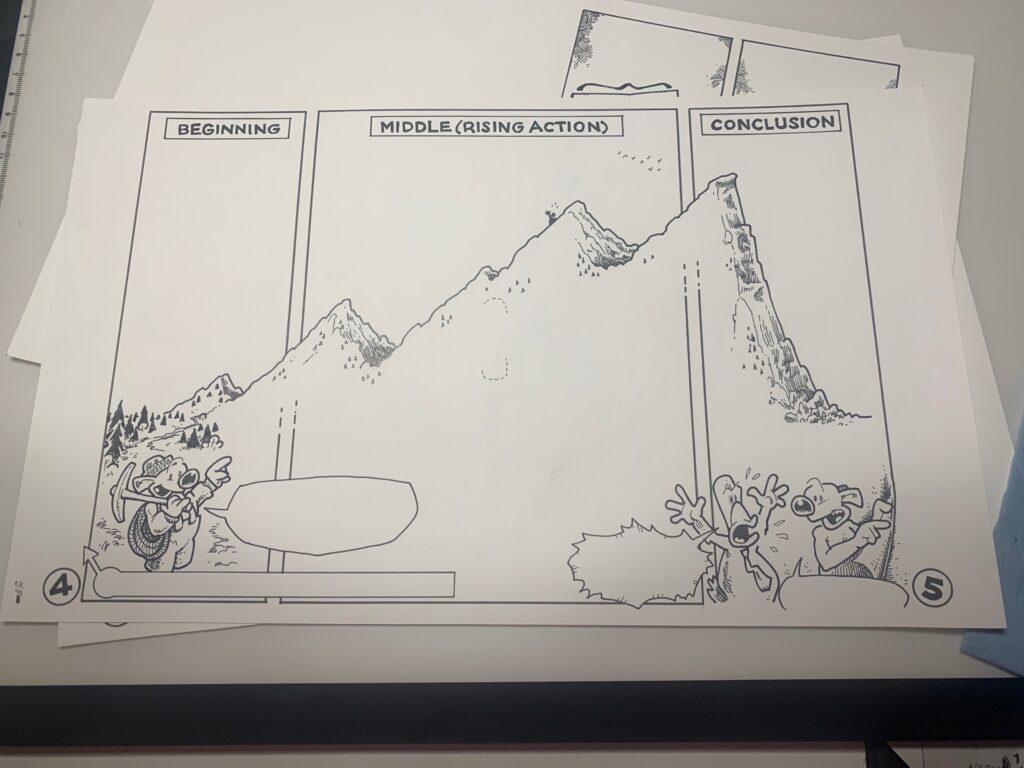
The center spread, which gives tips on how to structure a story for the small, short 8-page minicomic format.

Page 7 describes how to lay out your pages for reproduction, and page 6 will feature a great example of ‘compressed storytelling’, with a single-page retelling of Moby Dick by stick-figure master and minicomics royalty Matt Feazell, an old pen-pal from my earliest days of making minis.
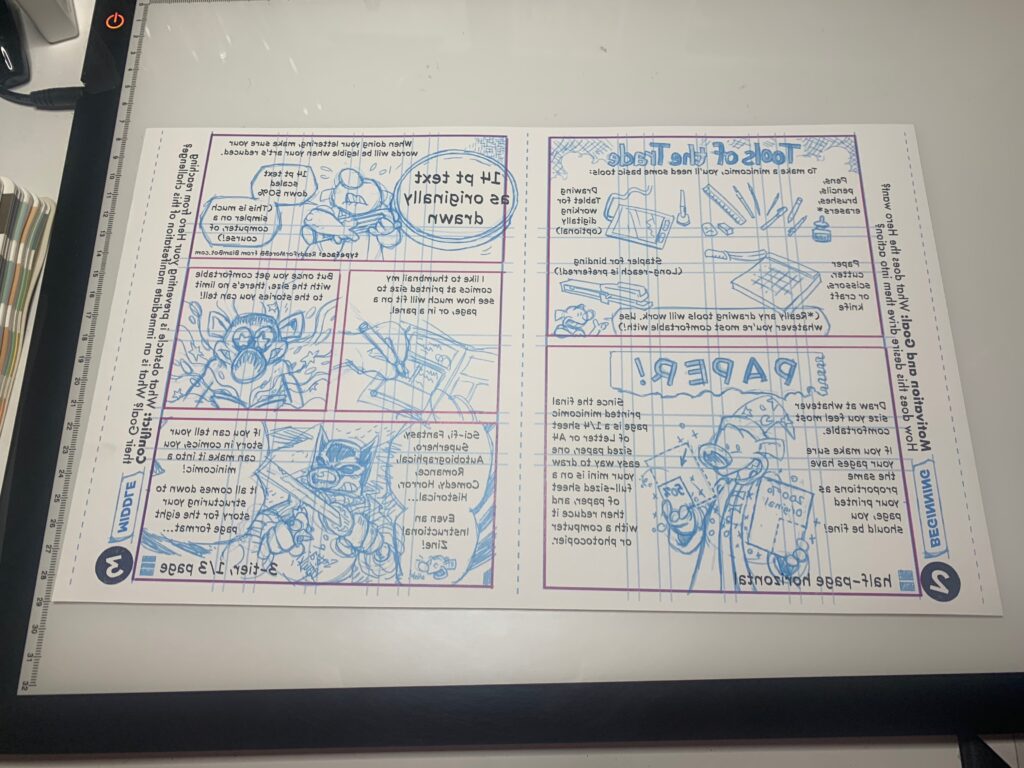
Here’s a sneak look at the pencils to pages 2 & 3. I’ve been experimenting with a new process for this comic, where I’m doing the lettering and pencilling digitally, in Photoshop (CS6), and then printing them up backwards on the back of a half-sheet of bristol. I then take that and use my handy light-box (a monoprice unit I picked up several years back) for inking on the other side. It’s an interesting process, the inks are a lot tighter than I usually do, and rearranging things during that stage is so much simpler than pencilling on the paper. Still trying to decide if I want to continue doing the lettering by hand, or just stick with the digital lettering.
But yeah. These are the pages I’m working on today!


