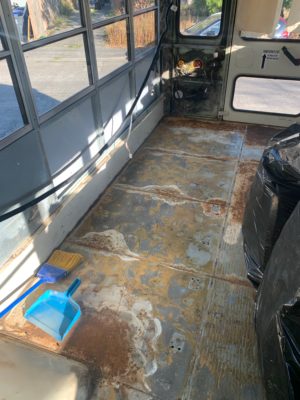
Three small things accomplished today:
1. Rear-view camera monitor is connected to bus power, and only comes on when the bus is running.
Finding a wire I could cut and repurpose from the control panel was a little trickier than I thought it would be. Thing is I’m still figuring out what standard bus features I want to try to keep intact as I make this conversion. I decided that since I’d already removed the rear heater, that I could disconnect that switch and steal its power wire. A little testing with my multimeter to make sure it only had power when the bus was running and I was off!
Next thing is going to be to look at my blind spots and decide whether I’m going to actually install the side cameras. Then I can splice together the power wires for all the cameras I plan to use, and hook them into the monitor’s power.
2. Removed all the screws to the other back panel (except for a couple I’ll have to grind out)
This one was a long time coming, and for some reason I’d just kept telling myself that there was too much stuff in the way. Also, I knew I’d need to address the alarm latch that senses the rear emergency door, and figure out how to cut that off. I remembered watching a video where one skoolie-owner basically just had to figure out through trial-and-error which wires to connect back to each other to close the circuit and allow the bus to start and run. Once I got the screws all off and I saw how simple it was going to be, I figured why not? and just went for it.
3. Disconnected the switch on the back door that triggers an alarm when the door is open.
So, turned out I didn’t need to do any rewiring at all! I disconnected the junctions connecting the switch to the wires up at the electric panel. Figured I’d start the bus, let the buzzer go, and then bring the multimeter back and figure it all out. But when I started the bus, there was no buzzer! Not even after I switched it into gear! I’ll keep an ear out for the alarm as I go forward, but so far, the thing is completely removed and there was no problem. So, I’m calling this one done for now!
I feel like I managed to do something else out there too, but I can’t remember what. Tidied up a little bit, disconnected an always-on phone charger that I couldn’t even use with my phone, poked around behind the right-hand dash console, looking for the wires I could use to hook the stereo in.
Found out the wires to the PA system are always on. That’s one feature I was planning to keep, and it has a good switch, so I might just leave it. Problem is, I was hoping to tap into those power lines to install a car stereo up front, but I need another power line that’s only on when the bus is running.
I definitely need to spend more time out there tracing and labeling wires. It’s a job that will need to get completed at some point, but I think it can wait until after I’ve finished the subfloor and started in on framing out the interior better.